
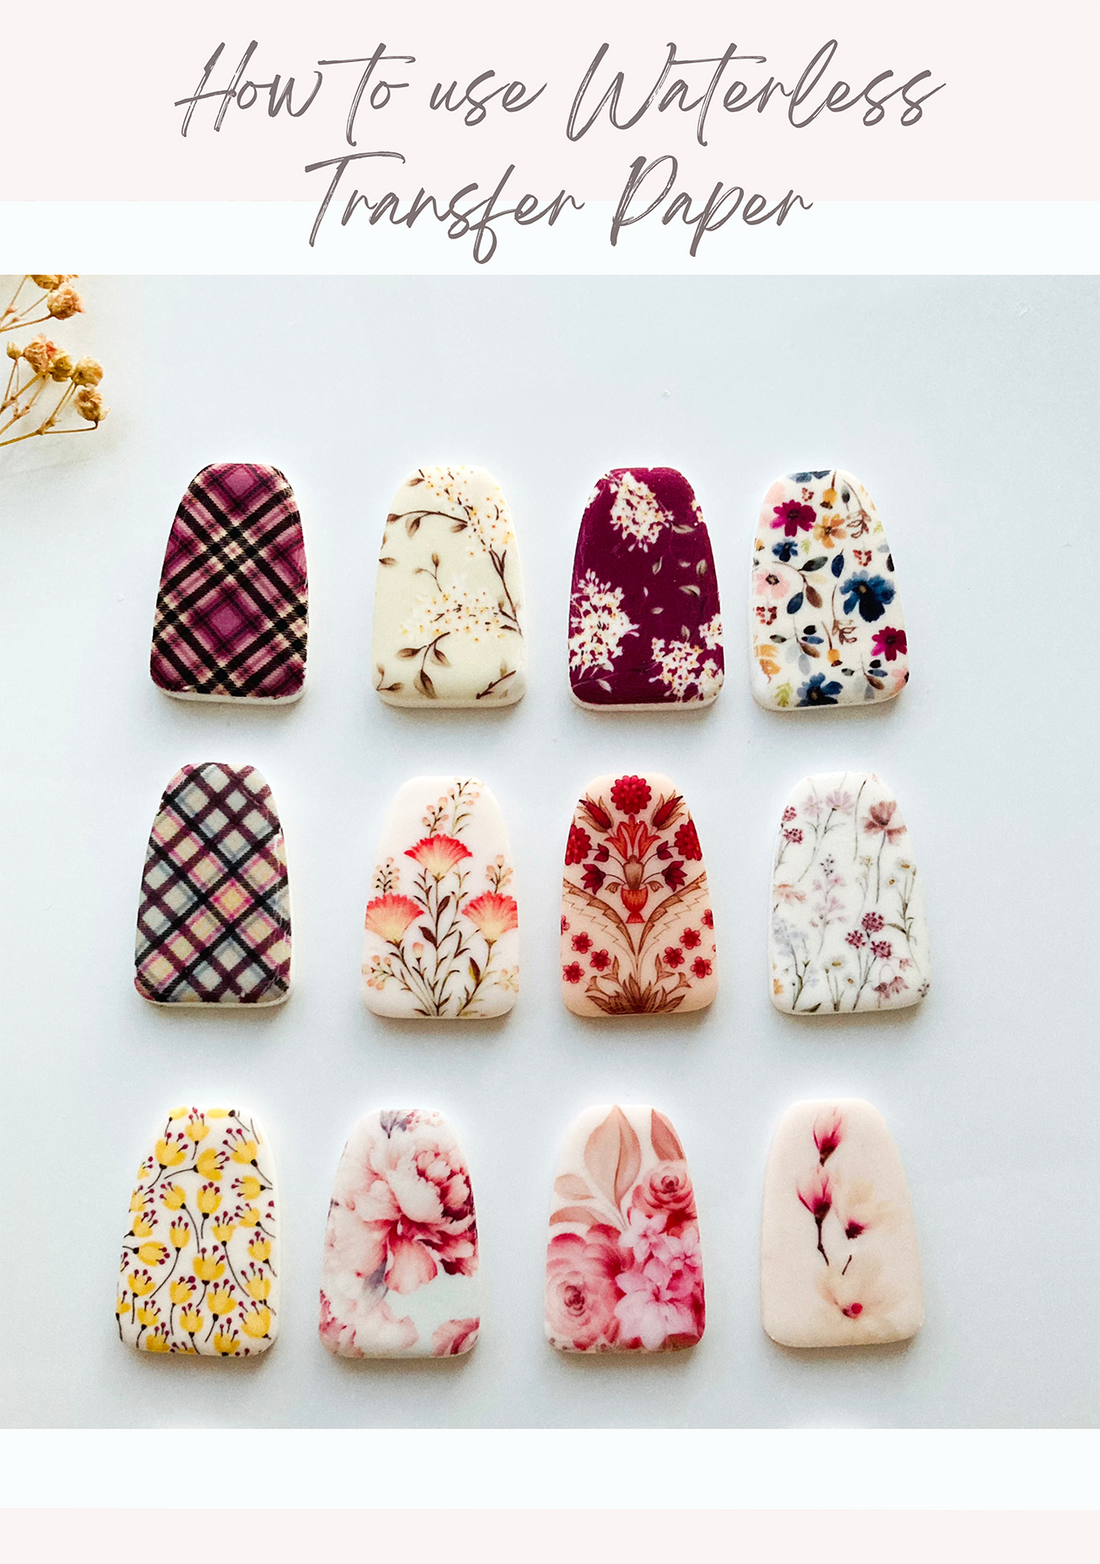
GETTING STARTED WITH WATERLESS SHEET:
1. Condition clay and roll onto a tile surface.
2. Apply a very thin even layer of "Hi-Tack "Very Sticky" Fast Tack Glue" adhesive on the surface of the clay.
3. Peel the backing paper out of the transfer paper
4. Place Transfer paper colourful side down onto clay surface.
5. Gently smooth into place with a roller or your fingers to remove any air bubbles.
6. Roll the transfer paper a few times, ensuring all surfaces of the paper are rolled down onto the clay.
7. Burnish the transfer paper and around the corner for a few minutes and then gently peel the small film from the corner, check that the pattern is stuck on clay before fully pulling the film out.
RECOMMENDED METHOD:
What do I need?
Hi-Tack "Very Sticky" Fast Tack Glue, tile, roller and polymer clay (Fimo, Sculpey)
Do I use water?
No. No water required.
Can I use with my cutters before baking?
Yes!
Do I need to seal these?
It is optional, if you like to have a vibrant glossy finish, then I suggest applying dura clear glossy varnish or a clear UV resin.
What else do I need to know?
Please note that image colours look different in person and will also change slightly upon baking, this is normal. Also, I do not recommend using Liquid Polymer clay or Oven-bake adhesive, as this will not always work. The best glue is "Hi-Tack "Very Sticky" Fast Track Glue" - when a thin layer is applied, the clay can be re-used, but if a thick layer is applied, the clay cannot be re-used as scrap. Make sure to purchase "Very Sticky" version.
Colour may change slightly when applied and baked.